Guide to Setting up OpenDataDiscovery

Share this article
OpenDataDiscovery is one of the most recent additions to the list of open-source metadata search and discovery tools. It was created and used internally by Provectus before they decided to open-source the project in the second half of 2021.
Open Data Discovery is a tool built upon open protocols and the ODD specification for easy integration with other data catalogs, such as Amundsen, Marquez, and others.
Unlike many other open-source tools, OpenDataDiscovery uses both pull and push-based ingestion strategies, which gives you additional flexibility to deal with different types of sources and their constraints.
OpenDataDiscovery works with in-demand third-party integrations, such as dbt, Great Expectations, and Prefect, using which it can ingest data from a wide range of data sources, including Airflow, BigQuery, Glue, Kafka, MySQL, PostgreSQL, Presto, Redshift, Snowflake, Tableau, and so on.
Modern data problems require modern solutions - Try Atlan, the data catalog of choice for forward-looking data teams! 👉 Book your demo today
We’ll briefly touch upon the features and OpenDataDiscovery’s architecture. Still, this article will mainly walk you through setting up OpenDataDiscovery on your local machine or in your cloud account. We’ll go over the things above under the following broad themes:
- Step 1: Understanding the prerequisites for installing OpenDataDiscovery
- Step 2: Understanding OpenDataDiscovery architecture
- Step 3: Cloning the OpenDataDiscovery GitHub repository
- Step 4: Installing OpenDataDiscovery using Docker Compose
- Step 5: Browsing the OpenDataDiscovery GUI for Search and Discovery
Let’s start by understanding the prerequisites.
Table of contents #
- Step 1. Prerequisites
- Step 2. Understanding OpenDataDiscovery Architecture
- Step 3. Cloning the GitHub repository
- Step 4. Installing OpenDataDiscovery using Docker Compose
- Step 5. Browsing the OpenDataDiscovery GUI for Search and Discovery
- Conclusion
- Setting up OpenDataDiscovery: Related reads
Step 1. Prerequisites #
OpenDataDiscovery offers several deployment methods, the most prominent being local deployment and deployment on AWS using EKS. In this article, you’ll learn how to deploy OpenDataDiscovery on your machine. For that, you’ll need to have the following things in place:
- Docker Engine ≥ 19.03.0+
- Docker Compose (latest version)
Once you have these in place, you can spin up the containers, but before that, you need to ensure that you don’t have any other PostgreSQL instance using port 5432. Use the following command to check:
lsof -i -P -n | grep LISTEN | grep 5432
If this command gives you back a result, get the PID of that process and kill it with the kill -9 <PID> command to free up the port. Run the lsof command again; you shouldn’t see any PostgreSQL instance running now.
Step 2. Understanding OpenDataDiscovery Architecture #
OpenDataDiscovery’s main database is PostgreSQL, where all the data from data sources, pipelines, and other assets goes. In addition to being a relational database, PostgreSQL acts as a graph database and a full-text search engine when needed. The extensible nature of PostgreSQL makes it an excellent fit for OpenDataDiscovery.
With PostgreSQL as the backbone of the search and discovery engine, OpenDataDiscovery communicates using two different APIs internally and externally — the Ingestion API and the generic REST API. The other two critical components of OpenDataDiscovery are the push client that ingests data from your data ecosystem using the APIs above and the collector that lets you ingest data from various data sources directly into the PostgreSQL database.
When deployed with the Docker image, all of this combined results in four components being deployed — the ODD platform (the main application responsible for ingestion, indexing, and metadata collection via APIs), the platform enricher (a tool to ingest sample metadata into the platform), a PostgreSQL database that holds the sample data initially, and the collector (a service that fetches data from all your data sources). You can read more about OpenDataDiscovery’s features and architecture here.
Step 3. Cloning the GitHub repository #
You can start by cloning the official GitHub repository for the OpenDataDiscovery platform using the following command:
git clone https://github.com/opendatadiscovery/odd-platform.git
The next step is to use Docker Compose to install OpenDataDiscovery.
Step 4. Installing OpenDataDiscovery using Docker Compose #
Use the Docker Compose to install OpenDataDiscovery utilizing the demo.yaml file in this step. It will spin up the ODD platform and a PostgreSQL database. It will also run the ODD platform enricher to load sample data into the PostgreSQL database. All of it will be taken care of by the following command:
docker-compose -f docker/demo.yaml up -d odd-platform-enricher
Depending on the power and speed of your local machine and your internet connection, this command can take up to a few minutes to complete. On its successful execution, you’ll see something along the lines of the following on your terminal screen:
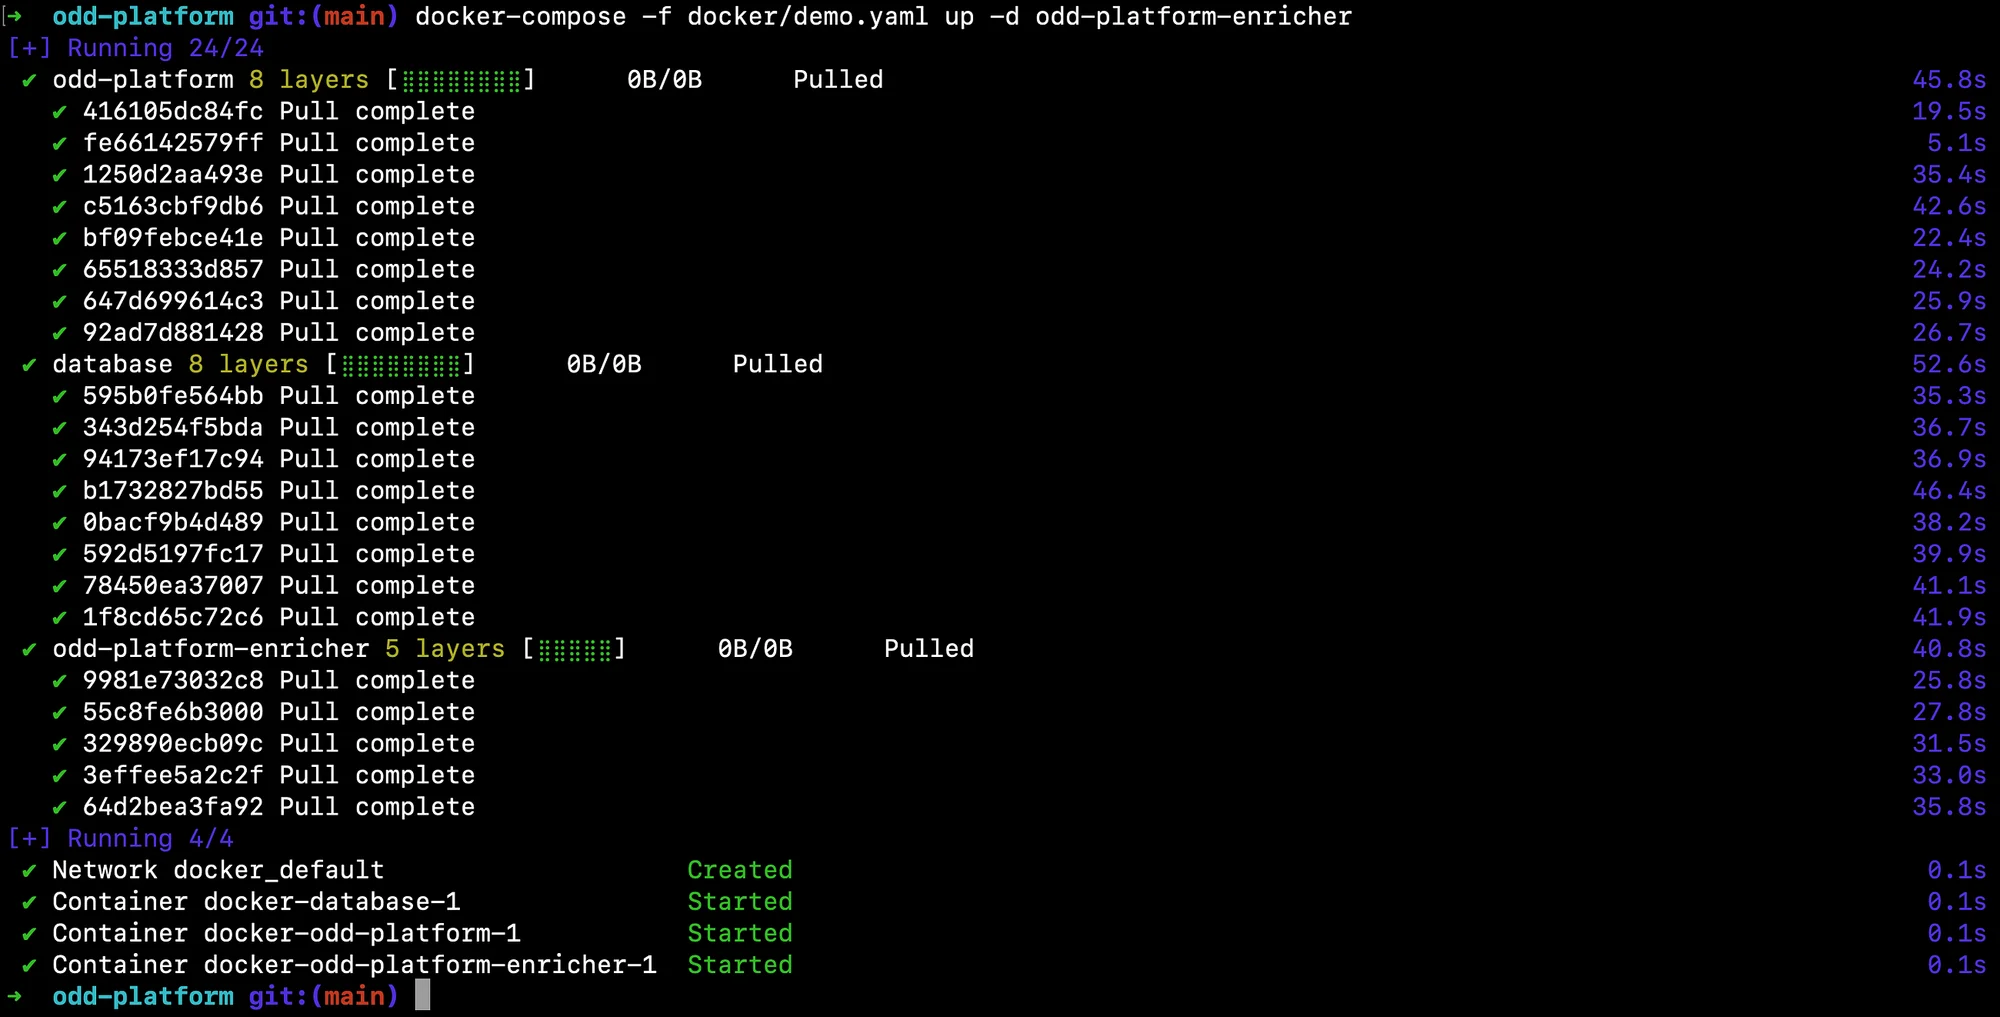
Output of the docker-compose command that spins up the ODD platform along with a PostgreSQL instance with sample data loaded - Image by Atlan.
You should now be able to log onto the OpenDataDiscovery data catalog from your web browser, but before that, let’s verify that all services are running as expected using the following command:
docker ps | grep opendatadiscovery
If all’s well, you should get a response like the following:
8344b643aa83 ghcr.io/opendatadiscovery/odd-platform:latest "java -cp @/app/jib-…" 4 hours ago Up 4 hours 0.0.0.0:8080->8080/tcp docker-odd-platform-1
Get ready to explore OpenDataDiscovery from your browser with sample data loaded.
Step 5. Browsing the OpenDataDiscovery GUI for Search and Discovery #
You can log onto http://localhost:8080 to access the OpenDataDiscovery GUI shown in the image below:
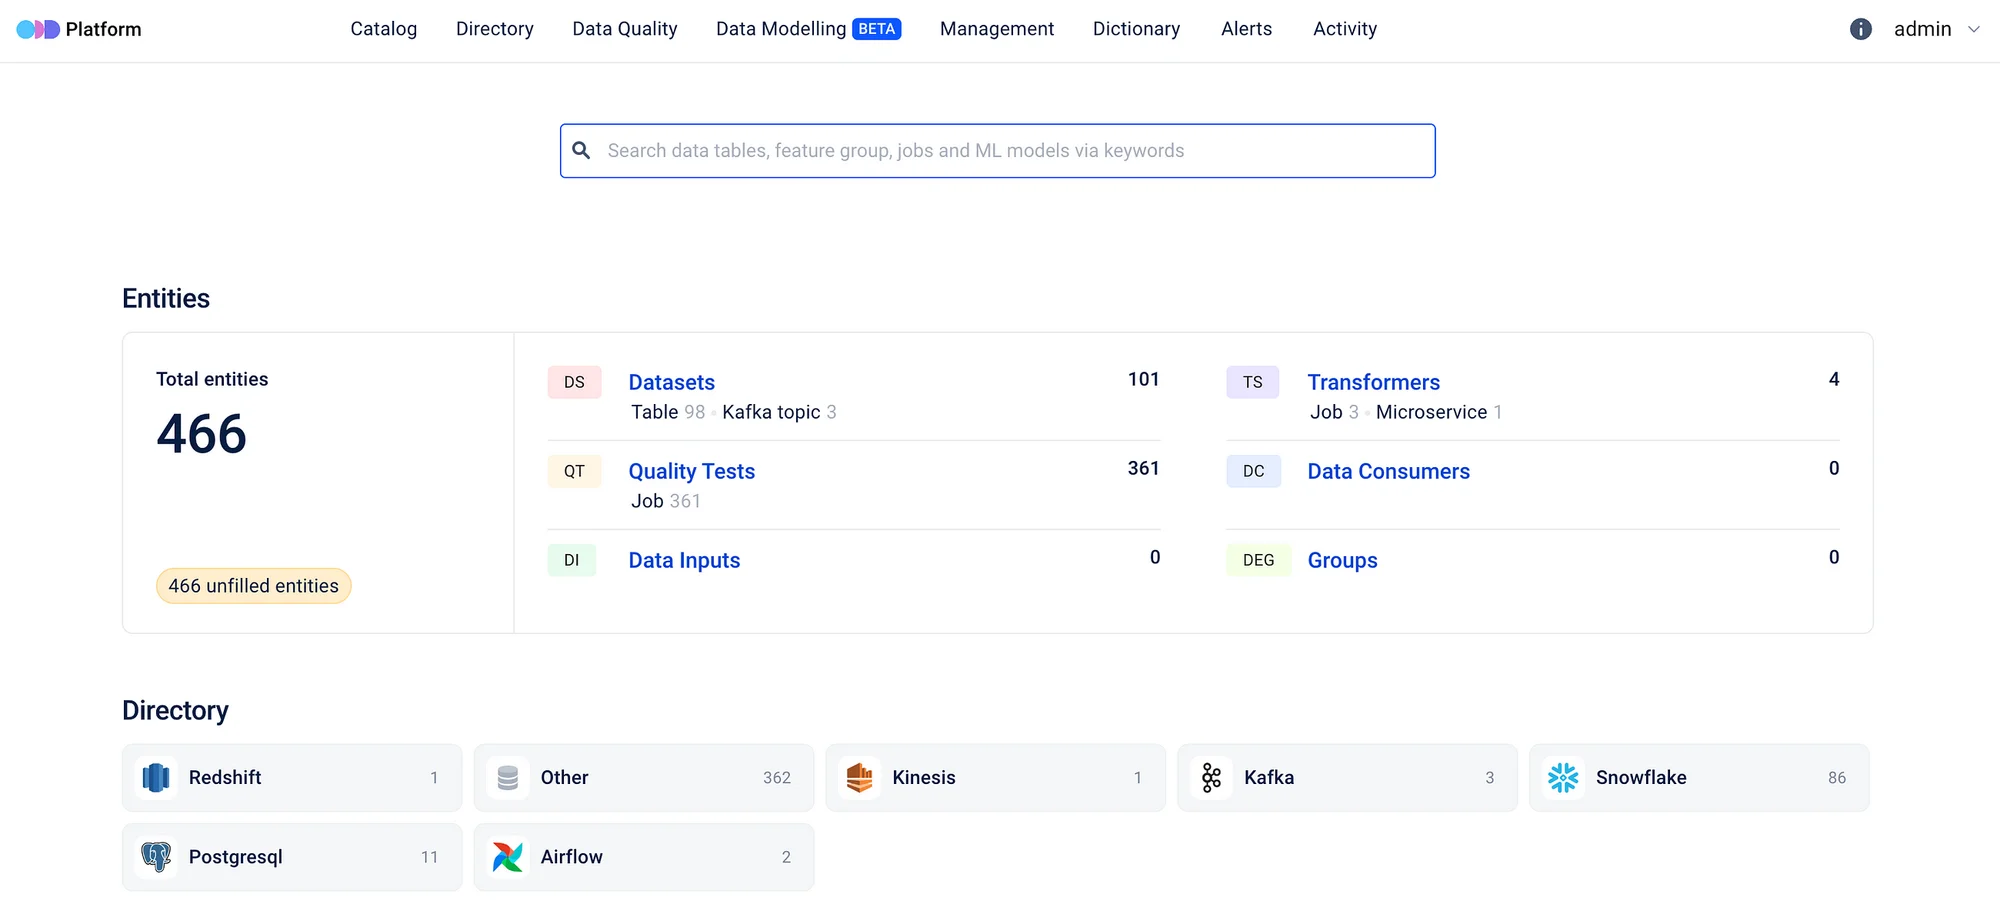
The browser interface to the OpenDataDiscovery platform after a successful deployment on a local instance - Image by Atlan.
With this GUI, you can look at the data catalog, data quality & profiling, tag management, data dictionary, alerts, etc. All the assets listed here are from the sample data loaded when you spun up the container. These assets are searchable and discoverable using the search bar at the top-center of the platform’s landing page. This concludes the installation and a brief overview of the OpenDataDiscovery platform. You should now test it out for yourself!
Conclusion #
OpenDataDiscovery is one of the latest additions to the list of open-source data catalogs. Compared to some of the other open-source tools, OpenDataDiscovery has a simplified architecture and an intuitive browser interface to enable search, discovery, quality, lineage, and observability for all your data sources and data assets.
Setting up OpenDataDiscovery: Related reads #
- OpenDataDiscovery: An Overview of Features, Architecture, and Resources
- OpenDataDiscovery GitHub repository
- OpenDataDiscovery documentation
- Open Source Data Catalog - List of 6 Popular Tools to Consider in 2023
- Snowflake Data Catalog: Importance, Benefits, Native Capabilities & Evaluation Guide
- Gartner Data Catalog Research Guide: How To Read Market Guide, Magic Quadrant, and Peer Reviews
- G2 Grid® Report for Machine Learning Data Catalog: How Can You Use It to Choose the Right Data Catalog for Your Organization?
Share this article

